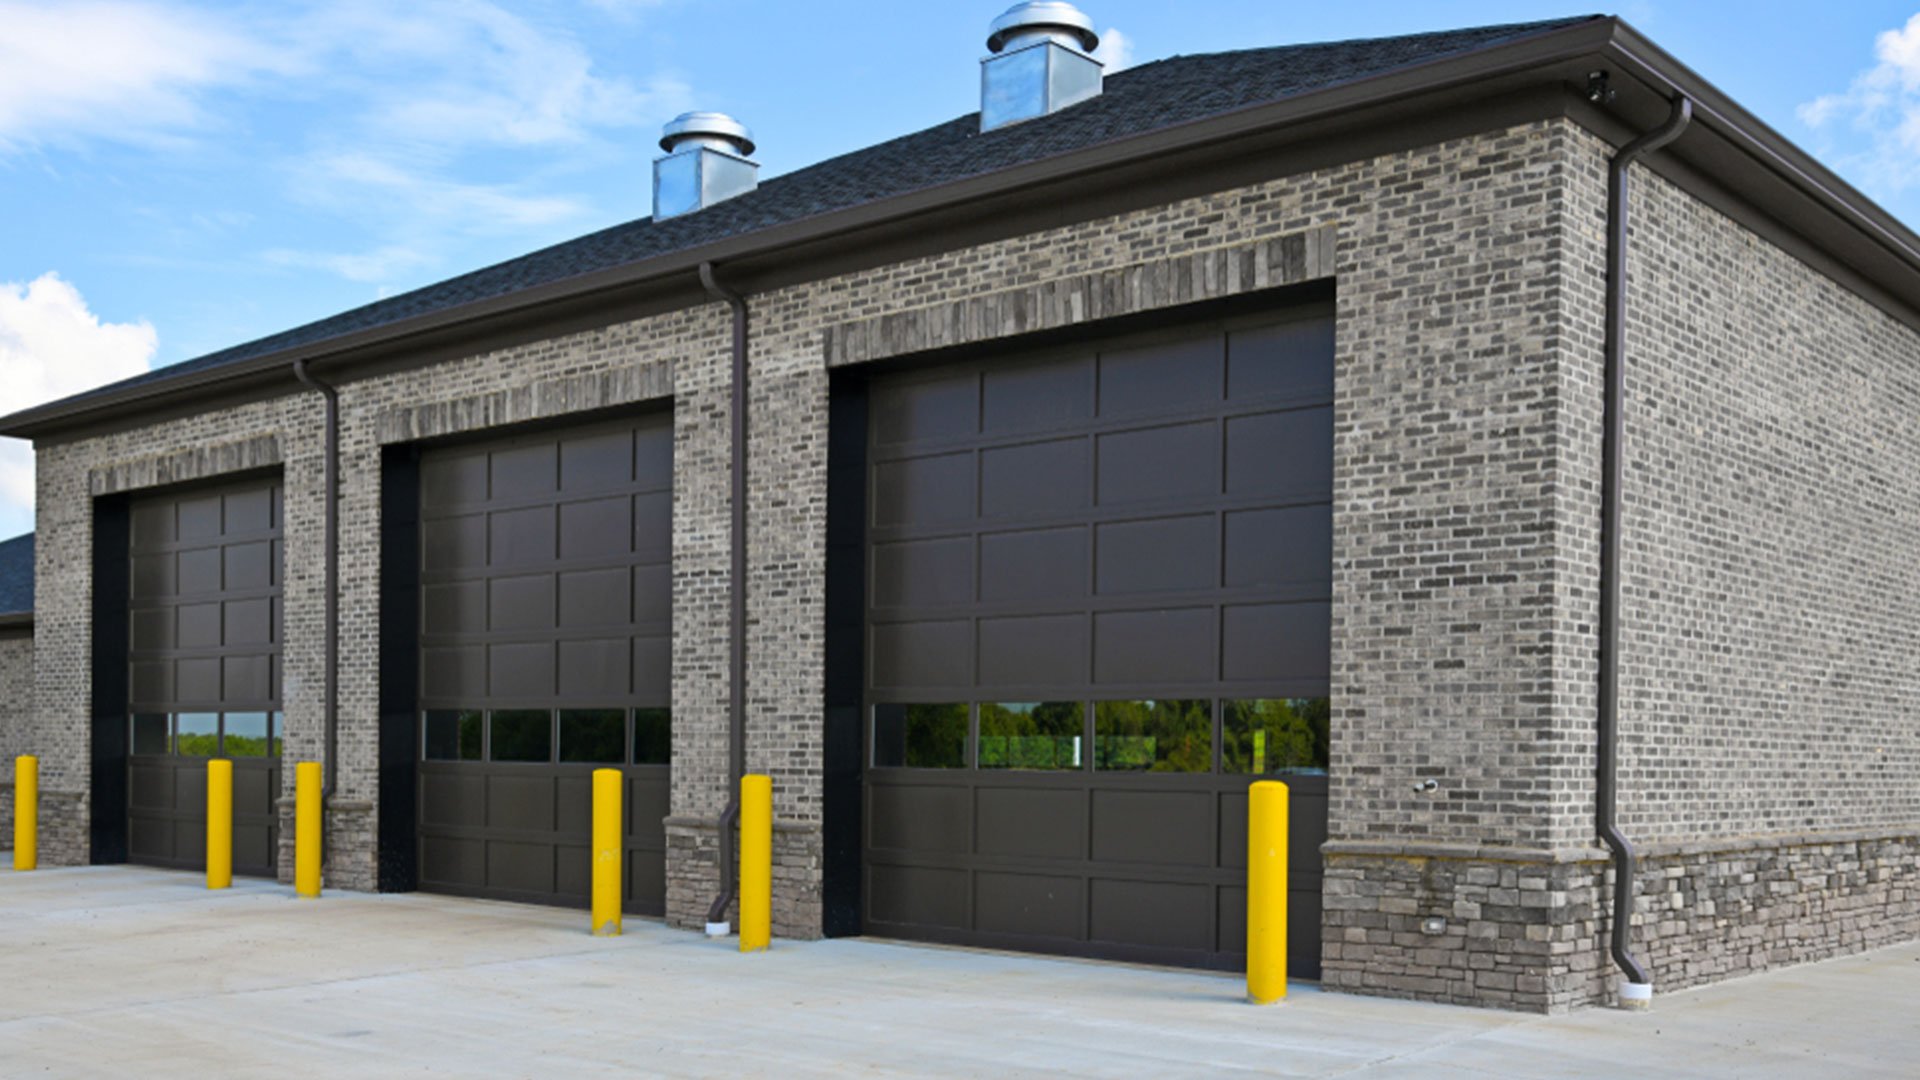
How To Prepare Your Garage Door For A Home Inspection: Don’t Let It Be the Deal-Breaker!
Alright, let’s talk home inspections. That lovely time when a stranger pokes around your castle, taking notes and potentially discovering all the little secrets you hoped would stay hidden. We’ve all been there, right? And while you’re probably obsessing over leaky faucets or that weird outlet in the basement, let us tell you: your garage door is a HUGE inspection target. Seriously, it’s often one of the first things they check and one of the easiest ways points get docked. But hey, no sweat! We’ve seen it all – the good, the bad, and the downright terrifying garage door situations here in Mississauga. Consider this your friendly cheat sheet to sailing through that inspection with your garage door looking like a star pupil.
Think about it. The inspector sees that big door and immediately thinks: Safety. Functionality. Security. Is this massive moving object going to fall on someone? Will it open when you need to escape? Is it basically an invitation for burglars? We get it; those are valid concerns! A faulty garage door isn’t just an inconvenience; it can be a genuine hazard. So, let’s roll up our sleeves and get your door inspection-ready. Trust us, a little prep now saves a ton of stress (and potentially negotiation headaches) later. And hey, if things look dicey, that’s where a solid garage door company like us, A1 Garage Doors right here in Mississauga, comes in handy. But more on that later!
Why Your Garage Door Gets So Much Attention (Hint: It’s Not Personal)
Ever wonder why inspectors spend what feels like forever staring at your garage door? It’s not because they secretly judge your taste in door styles (though we might… just kidding!). It boils down to three big things: Safety, Security, and Structure.
- Safety First, Always: This is non-negotiable. Garage doors are heavy. Really heavy. If springs snap, cables fray, or the opener safety sensors fail, someone could get seriously hurt. Inspectors test those auto-reverse mechanisms like their life depends on it… because technically, yours might. They look for broken springs, damaged cables, and anything that screams “accident waiting to happen.”
- Security Matters: A busted garage door is like leaving your front door wide open. Damaged panels, faulty locks, or an opener that anyone can hack? Big red flags for an inspector assessing the home’s security. They want to know your stuff (and you!) are protected.
- Structural Integrity & Function: Does the door open smoothly? Does it close flush? Are the tracks aligned? Significant binding, loud grinding noises, or a door that looks like it’s about to jump the track scream neglect and potential future expense. Inspectors note this stuff because it impacts the home’s overall condition and value.
So yeah, they’re not picking on your door. They’re doing their job, looking out for potential hazards and costly repairs down the line. Makes sense, right?
The Pre-Inspection Garage Door Tune-Up: Your Step-by-Step Guide
Okay, enough theory. Let’s get practical. Here’s what we, as folks who’ve prepped countless doors for inspections (and fixed the aftermath of not prepping!), recommend you do:
1. The Visual Once-Over (Channel Your Inner Inspector)
Grab a flashlight and a notepad. Seriously, write stuff down. Walk around your garage door, inside and out, and look for the obvious stuff:
- Panels: Dents, cracks, rot (especially on wood doors), rust? Significant damage is a visual eyesore and a structural concern. Minor dings? Probably okay, but note them. Does the whole door look warped or bent? Uh oh.
- Weatherstripping: That rubber seal along the bottom and sides? Is it cracked, brittle, or missing entirely? This lets in drafts, dirt, and pests – inspectors notice. It’s usually an easy DIY fix, FYI.
- Paint & Finish: Peeling paint or exposed wood on a steel door? Hello, rust city. It looks neglected and signals potential future problems. Give it a quick touch-up if needed.
- Windows (if you have them): Cracked glass? Loose frames? Another security and insulation red flag.
2. Testing the Hardware: Listen and Feel
Time to get hands-on. Safety First: Disconnect the opener! Find the emergency release cord (usually a red handle hanging down) and pull it. This disengages the door from the opener so you can operate it manually.
- Lift It Manually: Grab the bottom of the door and lift. It should move smoothly, with moderate effort. Does it feel incredibly heavy? That screams broken spring. Does it bind, jerk, or make horrible grinding/scraping noises? Major red flag. Does it only lift partway and then sag? Cable or spring issue, likely.
- Check Balance: Lift the door halfway up and let go. A properly balanced door should stay there. If it slams down or shoots up, those springs are out of whack. This is dangerous and will definitely fail inspection. Seriously, don’t mess with springs yourself. Call a garage door technician.
- Rollers and Hinges: Look along the tracks. Are the rollers intact (not cracked or chipped)? Are the hinges connecting the panels straight and tight (not bent or loose)? Give the door a gentle sideways nudge when it’s about halfway up. Excessive movement often means worn rollers or loose track bolts.
3. Track Alignment: The Smooth Operator Test
Your door runs on tracks. If those tracks aren’t straight and parallel, nothing good happens.
- The Gap Test: Look at the gap between the rollers and the track along the entire length, especially at curves and near the opener bracket. The gap should be consistent. If the rollers are visibly jammed against one side or you see big gaps on the other, your track is likely misaligned. This causes binding, noise, and premature wear.
- Look for Dents or Bends: Give the tracks a close look. Any significant dents, bends, or kinks? This often requires professional garage door track repair. Minor bumps might be okay, but note them.
- Mounting Brackets: Are the tracks securely fastened to the walls and ceiling with sturdy brackets? Give them a gentle wiggle. Loose? Tighten those bolts!
4. Spring & Cable Check: Proceed With Caution!
We cannot stress this enough: Garage door springs (torsion springs above the door or extension springs along the tracks) are under EXTREME tension. A broken spring can cause catastrophic failure. Same goes for frayed or snapped lift cables.
- Visual Inspection Only: Look without touching. For torsion springs (mounted on a bar above the door), look for gaps in the coils – a sure sign of breakage. For extension springs, check for stretching, rust, or obvious damage. Inspect lift cables for any fraying, kinks, or broken strands. See any of this? Stop. Do NOT attempt DIY garage door spring repair or garage door cable repair. This is 100% a job for professionals like our team at A1 Garage Doors. Mentioning this flaw to the inspector beforehand and stating you’ve scheduled repair shows proactive responsibility. IMO, it’s way better than them discovering a ticking time bomb.
5. Garage Door Opener: The Brains of the Operation
Reconnect your opener. Time to test its smarts and safety.
- Safety Sensors: Those little eyes near the bottom of the tracks? They should face each other perfectly. Clean the lenses with a soft cloth. Now, try closing the door and wave your foot (or a broomstick) under the beam. The door should immediately reverse. If it doesn’t, this is a critical fail. Check for obstructions, alignment, or loose wires. If it still fails, you likely need garage door opener repair.
- Auto-Reverse Test (Force Setting): Place a sturdy piece of wood (like a 2×4) flat on the floor where the door closes. Close the door. When it hits the wood, it should sense resistance and reverse back up. If it tries to crush the wood, the force setting is too high and needs adjustment (consult your opener manual).
- Remote & Wall Control: Do all your remotes work? Does the wall control button work? Is the backup battery (if it has one) fresh? An opener that doesn’t open the door is… well, pointless.
- Noise Level: Is the opener excessively loud or grinding? While maybe not a direct “fail,” it signals wear and tear and might be noted.
6. The Clean Sweep & Final Touches
Presentation matters, even for garage doors!
- Clear the Area: Move bikes, tools, bins, and that collection of empty paint cans away from the door’s path, both inside and out. Give the inspector clear access. A cluttered garage looks neglected.
- Wipe Down: Give the door a quick wash. Remove cobwebs, dust, and grime, especially around the tracks and opener. It just looks cared for.
- Lubrication: A little garage door lubricant (specifically designed for this, NOT WD-40!) on hinges, rollers, and the opener chain/screw drive can make operation smoother and quieter. Don’t overdo it! A light coating is plenty. Smooth operation impresses.
- Check the Lock: If your manual lock exists, does it work? If it’s broken or missing, consider replacing it.
DIY vs. Pro: When to Call the Cavalry (Like A1 Garage Doors!)
Look, we love a good DIY project. Changing weatherstripping? Tightening a loose bolt? Lubricating? Go for it! But some things are firmly in the “Call a Pro” column for safety and complexity. Trying to save a few bucks here can cost you dearly in injuries or further damage. Here’s the breakdown:
| Garage Door Issue | DIY Friendly? | Why Call a Pro (Like A1 Garage Doors)? | Potential Inspection Impact |
|---|---|---|---|
| Minor Dents/Scratches | Yes | Cosmetic only. Touch-up paint works. | Minor note, unlikely to fail. |
| Replacing Weatherstripping | Yes | Straightforward replacement, kits available. | Shows maintenance, prevents notes on drafts/pests. |
| Lubricating Moving Parts | Yes | Simple task with correct lubricant. Improves function & noise. | Shows maintenance, ensures smooth operation. |
| Tightening Loose Bolts | Yes (Carefully!) | Basic tool use. Ensure you don’t overtighten or misalign tracks. | Prevents noise, binding, and safety hazards. |
| Track Misalignment | No | Requires precise adjustment. DIY attempts often worsen it. Risk of door derailment. | Major Safety Hazard – Likely Fail. Requires garage door track repair. |
| Broken/Frayed Cables | No | Extreme tension risk. Incorrect installation is dangerous. | Critical Safety Hazard – Automatic Fail. Requires garage door cable repair. |
| Broken Torsion/Extension Springs | NO! | EXTREMELY DANGEROUS. High-tension parts can cause severe injury or death. Requires specialized tools/knowledge. | Critical Safety Hazard – Automatic Fail. Requires immediate professional repair. |
| Opener Safety Sensor Failure | Maybe (Simple Fix) | First: Clean lenses, check alignment/obstructions, ensure wiring is secure. If still failing… | Critical Safety Hazard – Automatic Fail if not reversing. |
| Opener Not Functioning/Force Issues | No | Complex electrical/mechanical components. Requires diagnostics & expertise. | Functional Failure – Likely Fail. Requires garage door opener repair. |
| Severe Panel Damage/Warping | No | Often requires panel replacement or full door assessment. Structural integrity concern. | Structural/Security Issue – Likely Fail. May need new door. |
| Commercial Overhead Door Issues | Rarely | Larger, heavier, more complex systems. Safety & liability risks are amplified. | High Risk for Failure. Requires commercial garage door repair specialists. |
See the pattern? Anything involving springs, cables, major track work, electrical opener guts, or significant structural damage is professional territory. Trying to fix these yourself to save on the cost is like performing your own root canal to save the dentist fee. Just don’t. This is where finding the best garage door company near you matters. You want experienced, certified technicians who prioritize safety.
Here in Mississauga, our team at A1 Garage Doors handles these critical repairs daily. Whether it’s a snapped spring needing urgent garage door repair or a complex commercial overhead door repair for a local business, we’ve got the expertise and the right parts. We get it – you want reliable service at an affordable price, especially before an inspection. That’s why we offer upfront estimates and clear explanations. Why risk your safety or the inspection over a DIY disaster? Give us a shout for peace of mind.
The Big Day: What to Expect During the Inspection
Okay, you’ve prepped. You’ve fixed what you can, and flagged the big stuff (or gotten us pros to fix it!). What now?
- Be Present (If Possible): Being there allows you to answer questions directly. You can point out recent repairs or maintenance you’ve performed.
- Give Them Space (But Be Available): Let the inspector do their job without hovering, but be nearby in case they have questions. They’ll likely test everything we’ve talked about: manual operation, balance, opener function, safety sensors, auto-reverse.
- Don’t Take Notes Personally: They’re documenting the property’s condition, not judging you as a person. If they find an issue you missed, it’s valuable information, not a personal attack. We see homeowners get defensive sometimes – it’s natural, but try to see it as helpful intel.
- Ask Questions: If they note something you don’t understand, ask for clarification. Understanding the why behind a noted issue helps you prioritize fixes.
Frequently Asked Questions (Because We Hear These All the Time!)
-
“The inspector noted a ‘loud garage door opener.’ Is this a serious issue? Will it fail the inspection?”
- Answer: A noisy opener itself usually isn’t a critical failure unless it indicates a more serious underlying problem (like a failing gear assembly) or if it’s linked to another issue (like binding tracks). However, it will be noted as a sign of wear and tear or potential future failure. It suggests the opener is working harder than it should, shortening its lifespan. It’s definitely worth investigating – could be simple lubrication, worn rollers, or a sign the opener needs service or replacement. Getting a garage door technician to diagnose the noise before the final report is wise.
-
“My garage door passes all the safety tests but has a few decent-sized dents. Will this affect the inspection?”
- Answer: Cosmetic damage like dents is less likely to cause an outright “fail” compared to functional or safety issues. However, the inspector will note it, especially if the dents are significant, compromise the door’s structural integrity (e.g., a large crease), cause a panel to bow, or create gaps affecting security or weather sealing. Multiple dents or severe damage can impact the perceived overall condition of the home and might be flagged for repair or noted as reducing curb appeal/value. If the dents are purely superficial, it might just be a minor note.
-
“The inspector said my springs are ‘aged’ but not broken. Do I need to replace them immediately? How much will it cost?”
- Answer: This is a crucial one! If an inspector notes “aged” springs, take it very seriously. Garage door springs have a finite lifespan (typically 7-15 years, depending on cycles). They don’t usually give much warning before failing catastrophically. An “aged” spring is a ticking time bomb. We strongly recommend replacing aging springs before they break. The cost? It varies based on door size, weight, spring type (torsion vs. extension), and whether it’s a single or double spring system. Expect a range, but investing in spring replacement before failure prevents potential injury, property damage, being stranded with a stuck door, and the higher emergency repair cost. Contact a reputable garage door company like A1 Garage Doors in Mississauga for a specific, affordable quote based on your door. It’s a worthwhile investment in safety and avoiding a much bigger headache (and price tag) later.
Wrapping It Up: Inspection Success Starts Here
Phew! That might seem like a lot, but breaking it down step-by-step makes it manageable. Preparing your garage door for a home inspection isn’t just about ticking boxes; it’s about ensuring safety, functionality, and presenting your home in its best light. A well-maintained door signals to the inspector (and potential buyers) that the home has been cared for.
Remember the golden rules:
- Safety is Paramount: Never mess with springs or cables.
- Functionality is Key: Smooth, quiet operation and passing safety tests are critical.
- Appearance Counts: Clean, lubricated, and damage-free looks better.
- Know Your Limits: DIY the simple stuff; call pros like A1 Garage Doors for the complex, high-risk, or commercial garage door repair jobs.
Taking a weekend afternoon to run through these checks could save you thousands in negotiation concessions or failed inspection contingencies. Found something major during your prep? Don’t panic! That’s why companies like ours exist. We’re your local garage door experts right here in Mississauga, specializing in everything from automatic garage door installation to emergency garage door repair. We offer upfront pricing, quality service, and the expertise to get your door inspection-ready quickly and affordably. Whether you need a quick safety sensor fix, a spring replacement, or are looking for the best garage doors for a future upgrade, we’re here to help.
So, don’t let your garage door be the reason your home inspection turns sour. Give it the TLC it deserves. Do your checks, fix what you can safely, and call in the pros for the rest. Good luck with the inspection – you’ve got this! And hey, if you hit a snag or just want a pro opinion before the big day, you know who to call in Mississauga. 😉 Let’s get that door prepped for a perfect score!


